How to Design a Car Wrap: A Beginner's Guide to Vehicle Graphics
Learning to design a car wrap can seem challenging for beginners. This guide covers the essential steps for creating effective vehicle graphics. You'll learn about color choices, branding elements, and design techniques. High-quality car wraps require careful planning and attention to detail. We'll walk you through each step from concept to final production.
Choosing the Right Design Elements
When you design a car wrap, picking the right elements makes all the difference. Each line, curve, and color should tell a story about the vehicle. Consider where to place logos, graphics, and text so that they complement the car's shape effectively. Your design elements must catch attention while sending a clear message. Mix good looks with practical function to create something that both turns heads and shares your brand's story.
Understanding Color Theory and Psychology
Colors create feelings and reactions, making them powerful tools for vehicle graphics. Learning basic color theory helps you pick colors that work well together and grab attention. Think about what different colors mean: red shows energy, blue builds trust, and green suggests nature. Pick colors that match your brand's message and connect with your target audience. Smart color choices help you create the right emotions and make a lasting impression on viewers.
Incorporating Branding and Messaging
Branding connects your vehicle to your company in viewers' minds. Use logos, brand colors, and taglines to show your company's identity clearly. Your messaging should include important details like contact info or special offers. Keep text short and easy to read from far away. Mix your branding with smart messaging to make sure your car wrap looks great and shares the right information with potential customers.
Exploring Different Wrap Finishes
Different wrap finishes give your vehicle a unique look and feel. Each finish creates its own style and appeal. Here are four popular options to consider:
Gloss Finish: Creates a shiny, reflective surface that makes colors bright and bold.
Matte Finish: Gives a smooth, non-shiny look that appears modern and sophisticated.
Satin Finish: Offers a soft shine between gloss and matte for an elegant appearance.
Chrome Finish: Provides a mirror-like effect for a luxury, high-end look.
Working With Templates and Mockups
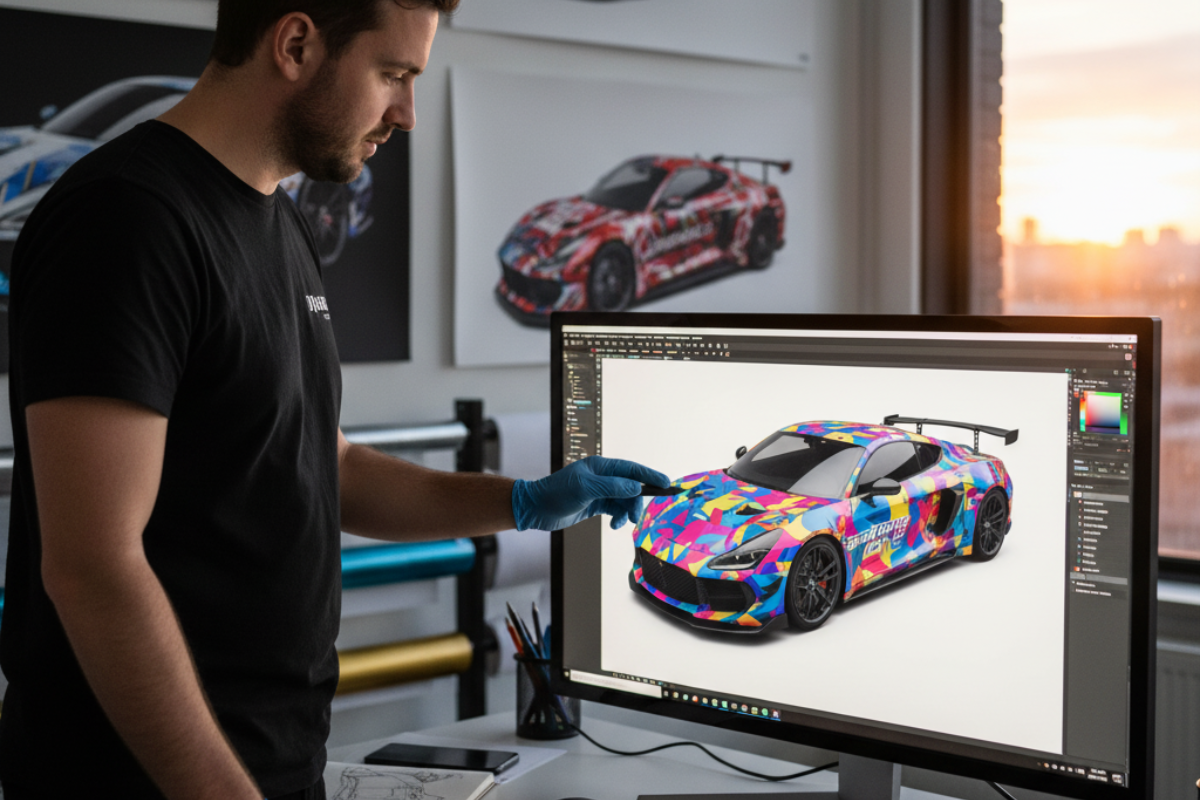
Templates help make sure your design fits properly on the vehicle's curves and edges. They give you a framework for your artwork and help you see how it will look in real life. Mockups show you a digital version of your design on the actual vehicle. This step lets you make changes before printing begins. Using templates and mockups helps you refine your design and ensures it looks great on the finished vehicle.
Preparing Your Design for Production
Getting your design ready for printing requires attention to important details. Follow these key steps for the best results:
Check Design Specifications: Make sure your design has the right size and quality settings.
Color Management: Verify color settings to get accurate colors when printed.
Outline Fonts: Convert text to outlines to avoid font problems during printing.
Review File Format: Save your design in the correct format, like AI or EPS, for the best printing quality.
Related Topics:

