How to Apply Car Wrap: A Step-by-Step Guide for Beginners
Thinking of changing up your vehicle's look without a full paint job? A car wrap can provide an affordable, stylish alternative. Whether you're aiming for a sleek finish or a bold new design, understanding the basic application process is essential. If you're exploring options or planning to handle it yourself, this guide covers everything from selecting the right materials to proper maintenance after installation. With the right tools, preparation, and attention to detail, even beginners can get professional-looking results, and if you're seeking expert help, lead car wrapping services can ensure a smooth, lasting finish.
Selecting the Right Car Wrap Material
Choosing the right material is one of the most critical parts of the process. Cast vinyl is a preferred option due to its durability and flexibility. It's built to withstand sun exposure, rain, and snow, making it suitable for a wide range of environments. This type of vinyl also holds up well to washing and everyday wear, helping your vehicle keep its updated look for years. A good wrap should not only resist fading and cracking but also maintain vibrant color over time. Matching the material to your vehicle's typical usage will help ensure long-term results and better value from your investment.
Preparing Your Vehicle for Wrapping
A successful application begins long before the vinyl touches the car. Proper preparation is essential for a clean, seamless finish. Begin with a thorough wash, ensuring that all dirt, grease, and wax residue are removed. Once the vehicle is clean, check for any scratches, dents, or chips that need fixing. Any imperfections can affect the vinyl's adhesion and may be visible after application. After the surface is fully dry, use masking tape to protect trim, lights, and windows from any accidental overlap. Finally, make sure you're working in a clean, dust-free environment with suitable temperature and humidity, as this will help the adhesive bond properly.
Tools and Supplies You'll Need
Before you begin, ensure you have all the tools needed to make the process efficient and precise. A quality squeegee is essential for smoothing the vinyl and removing air pockets. A heat gun will help the wrap conform to curves and edges. You'll also need a sharp utility knife for trimming, along with isopropyl alcohol for final surface cleaning. A measuring tape helps with accurate sizing, while microfiber cloths can keep the surface clean without scratching. A pair of gloves can help protect your hands and give you better control as you handle the material. Having everything within reach will help prevent mistakes and speed up the process.
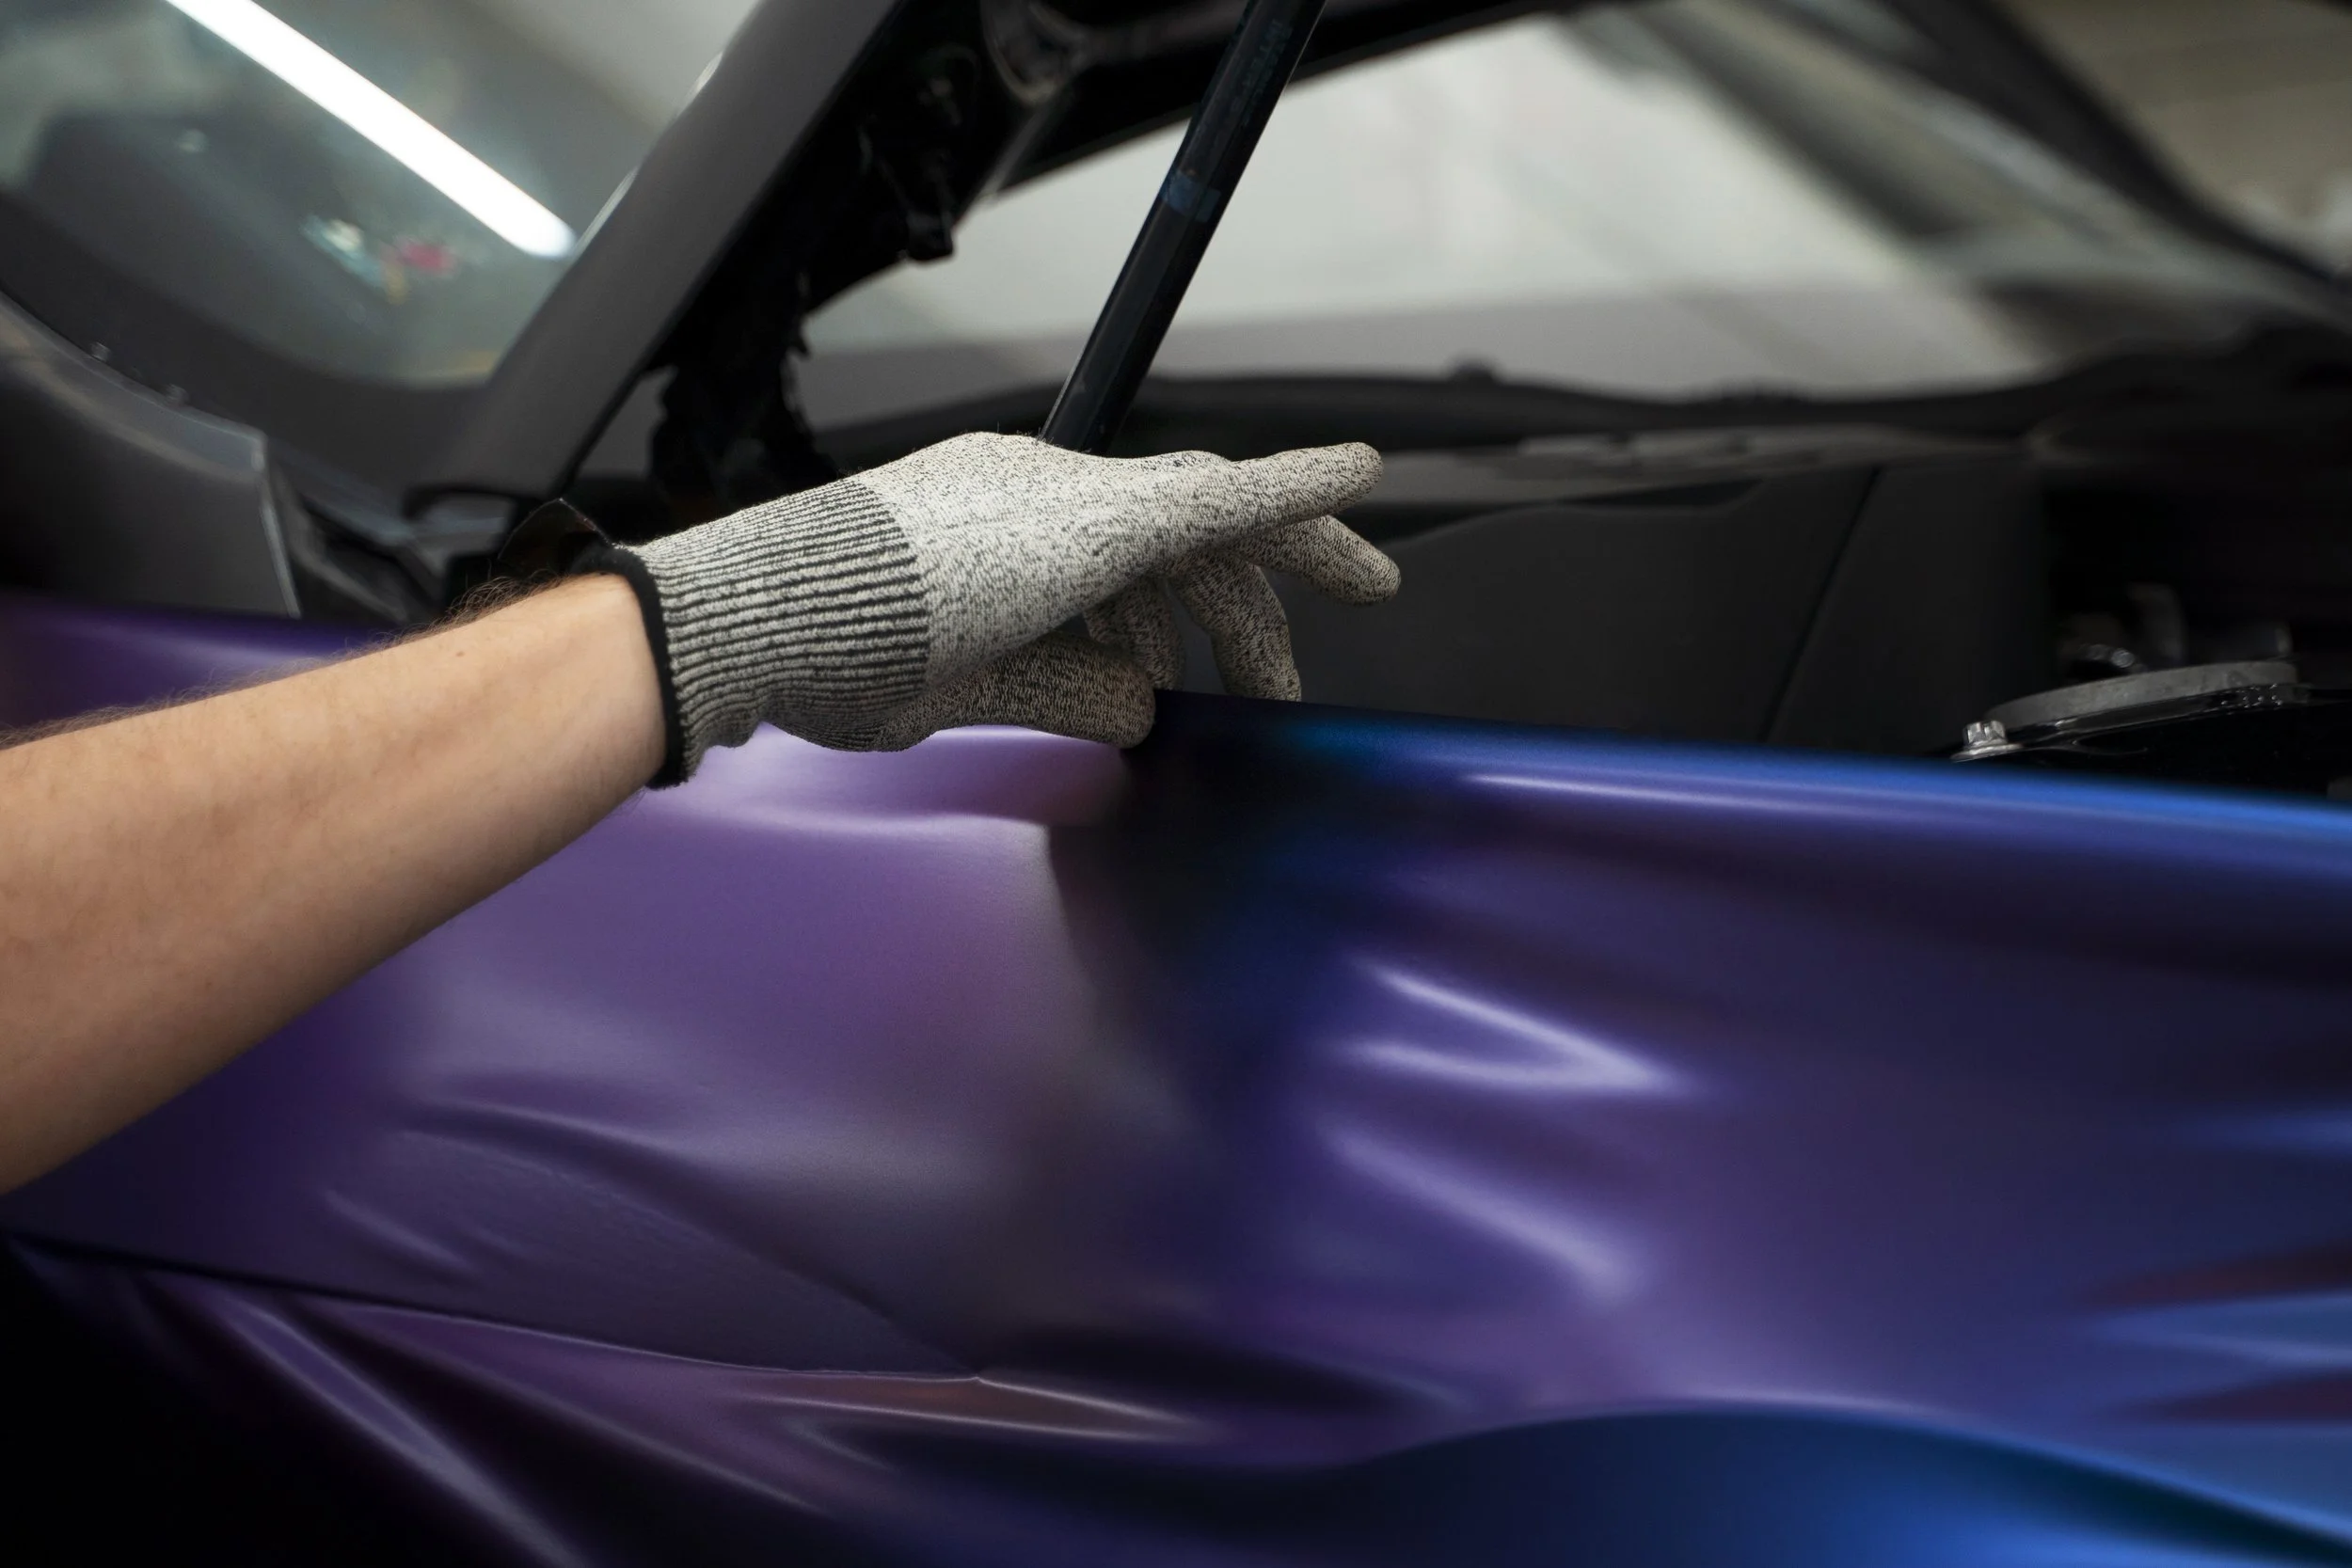
Applying the Car Wrap: Step-by-Step
Once your vehicle is prepped and your tools are ready, the application begins. Clean the surface once more with isopropyl alcohol to ensure nothing interferes with adhesion. Measure the vinyl carefully, leaving a slight margin to allow for full coverage and edge wrapping. Begin by peeling away a portion of the backing and lightly positioning the wrap over the panel. Start pressing the vinyl from the center outward using the squeegee to minimize bubbles. Work slowly and methodically, removing the backing in stages as you go. This gradual approach gives you more control and reduces the chance of misalignment or creasing.
Trimming and Finishing Touches
After applying the wrap, take time to clean up the edges and perfect the finish. Use a sharp blade to trim the excess vinyl with care, paying attention to corners and curves to keep the lines neat. A heat gun helps activate the adhesive around edges and contours, locking the wrap into place and preventing future lifting. Gently warm the edges and use the squeegee again to ensure a tight seal. Once you've completed the trimming, examine the entire surface for any remaining bubbles or uneven spots. A second pass with heat and pressure will give the wrap a smoother appearance and a stronger bond.
Maintaining Your Car Wrap for Longevity
Once your car is wrapped, keeping it in good shape requires simple but consistent care. Wash the surface regularly using a soft sponge or cloth along with gentle car soap. Harsh chemicals, automatic car washes, or rough scrubbing can damage the wrap's surface and shorten its lifespan. After washing, dry the car by hand to avoid streaks or water spots. You can also apply a vinyl-safe wax to help protect against UV rays and environmental contaminants. Inspect the wrap regularly, especially around edges and seams, and repair any lifting or wear as soon as it's noticed. With the right care, a well-applied wrap can look sharp and last for years to come.
Related Topics: